Kitchen Backsplash Installation
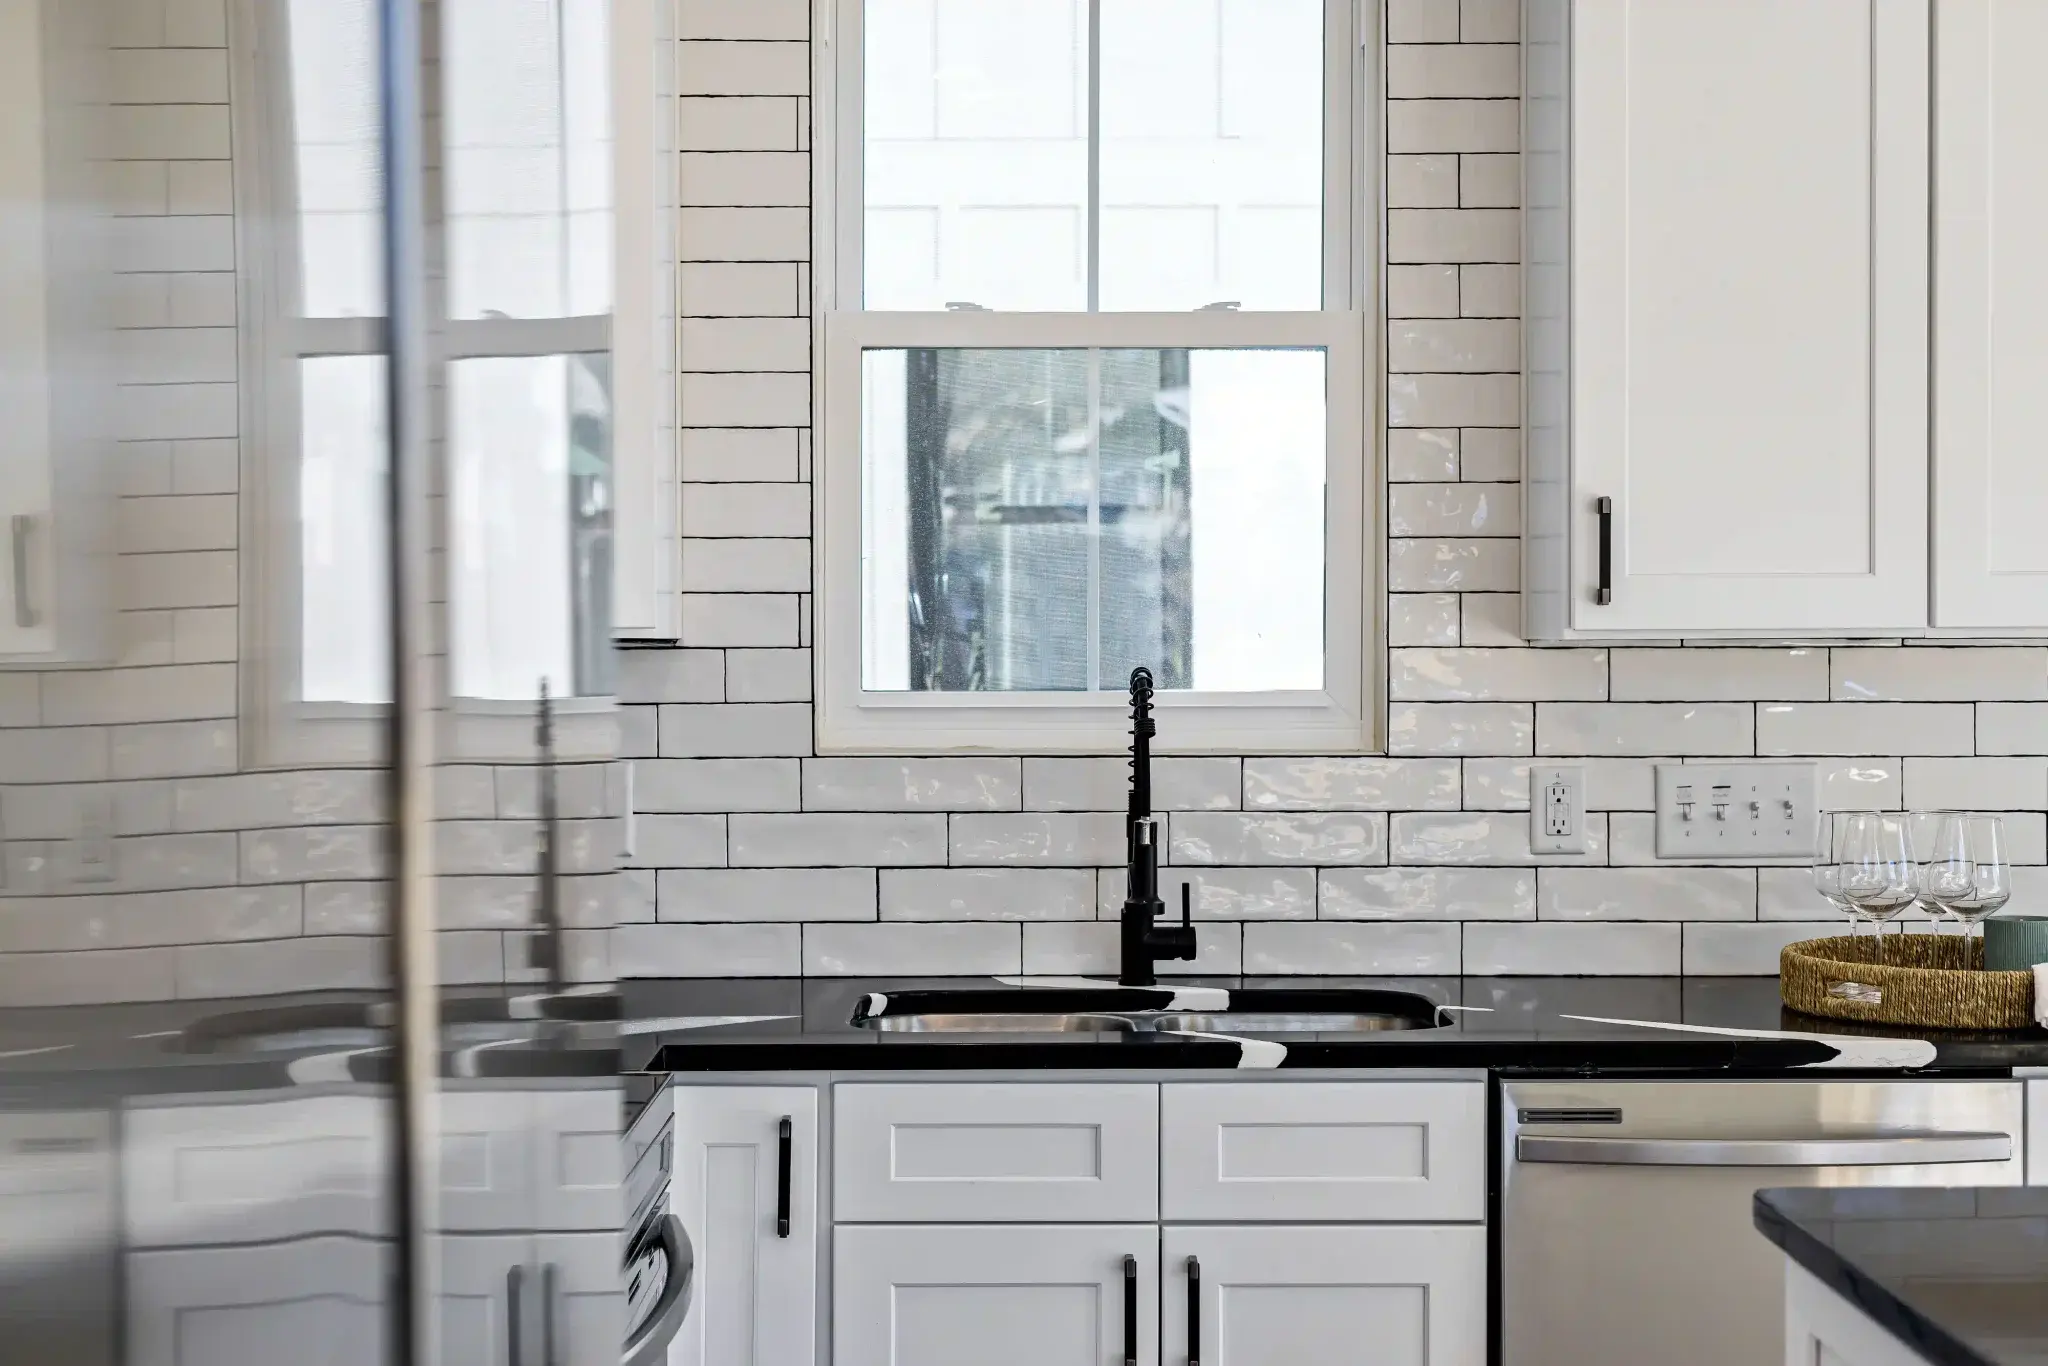
Subway, zellige, marble slab, mosaic. Precise cuts, clean edges, and a finished result that holds up to daily kitchen use.
More Than Just Sticking Tile to a Wall
A kitchen backsplash looks like a straightforward job, and in terms of scope it often is. But the details that make a backsplash look like it belongs in the kitchen, rather than just being applied to it, come down to decisions that happen before the first tile is set.
Where does the tile start? Typically, we set the first course of tile so it sits level on the countertop, or a small consistent gap above it for a caulk joint. If the countertop is not level, we have to decide whether to follow it (which makes the tile look level but creates inconsistent cuts at the top) or work off a true level line (which creates a consistent top edge but a visible variation at the counter). We discuss this with you during the estimate and show you what each approach looks like.
Outlet boxes are another detail that separates careful work from rushed work. Tiles that meet an outlet need to be cut so the outlet cover plate sits flush over the tile edge, not resting on top of a tile corner. This requires measuring and cutting each tile around the box individually. We do this on every job.
Tile Styles We Install
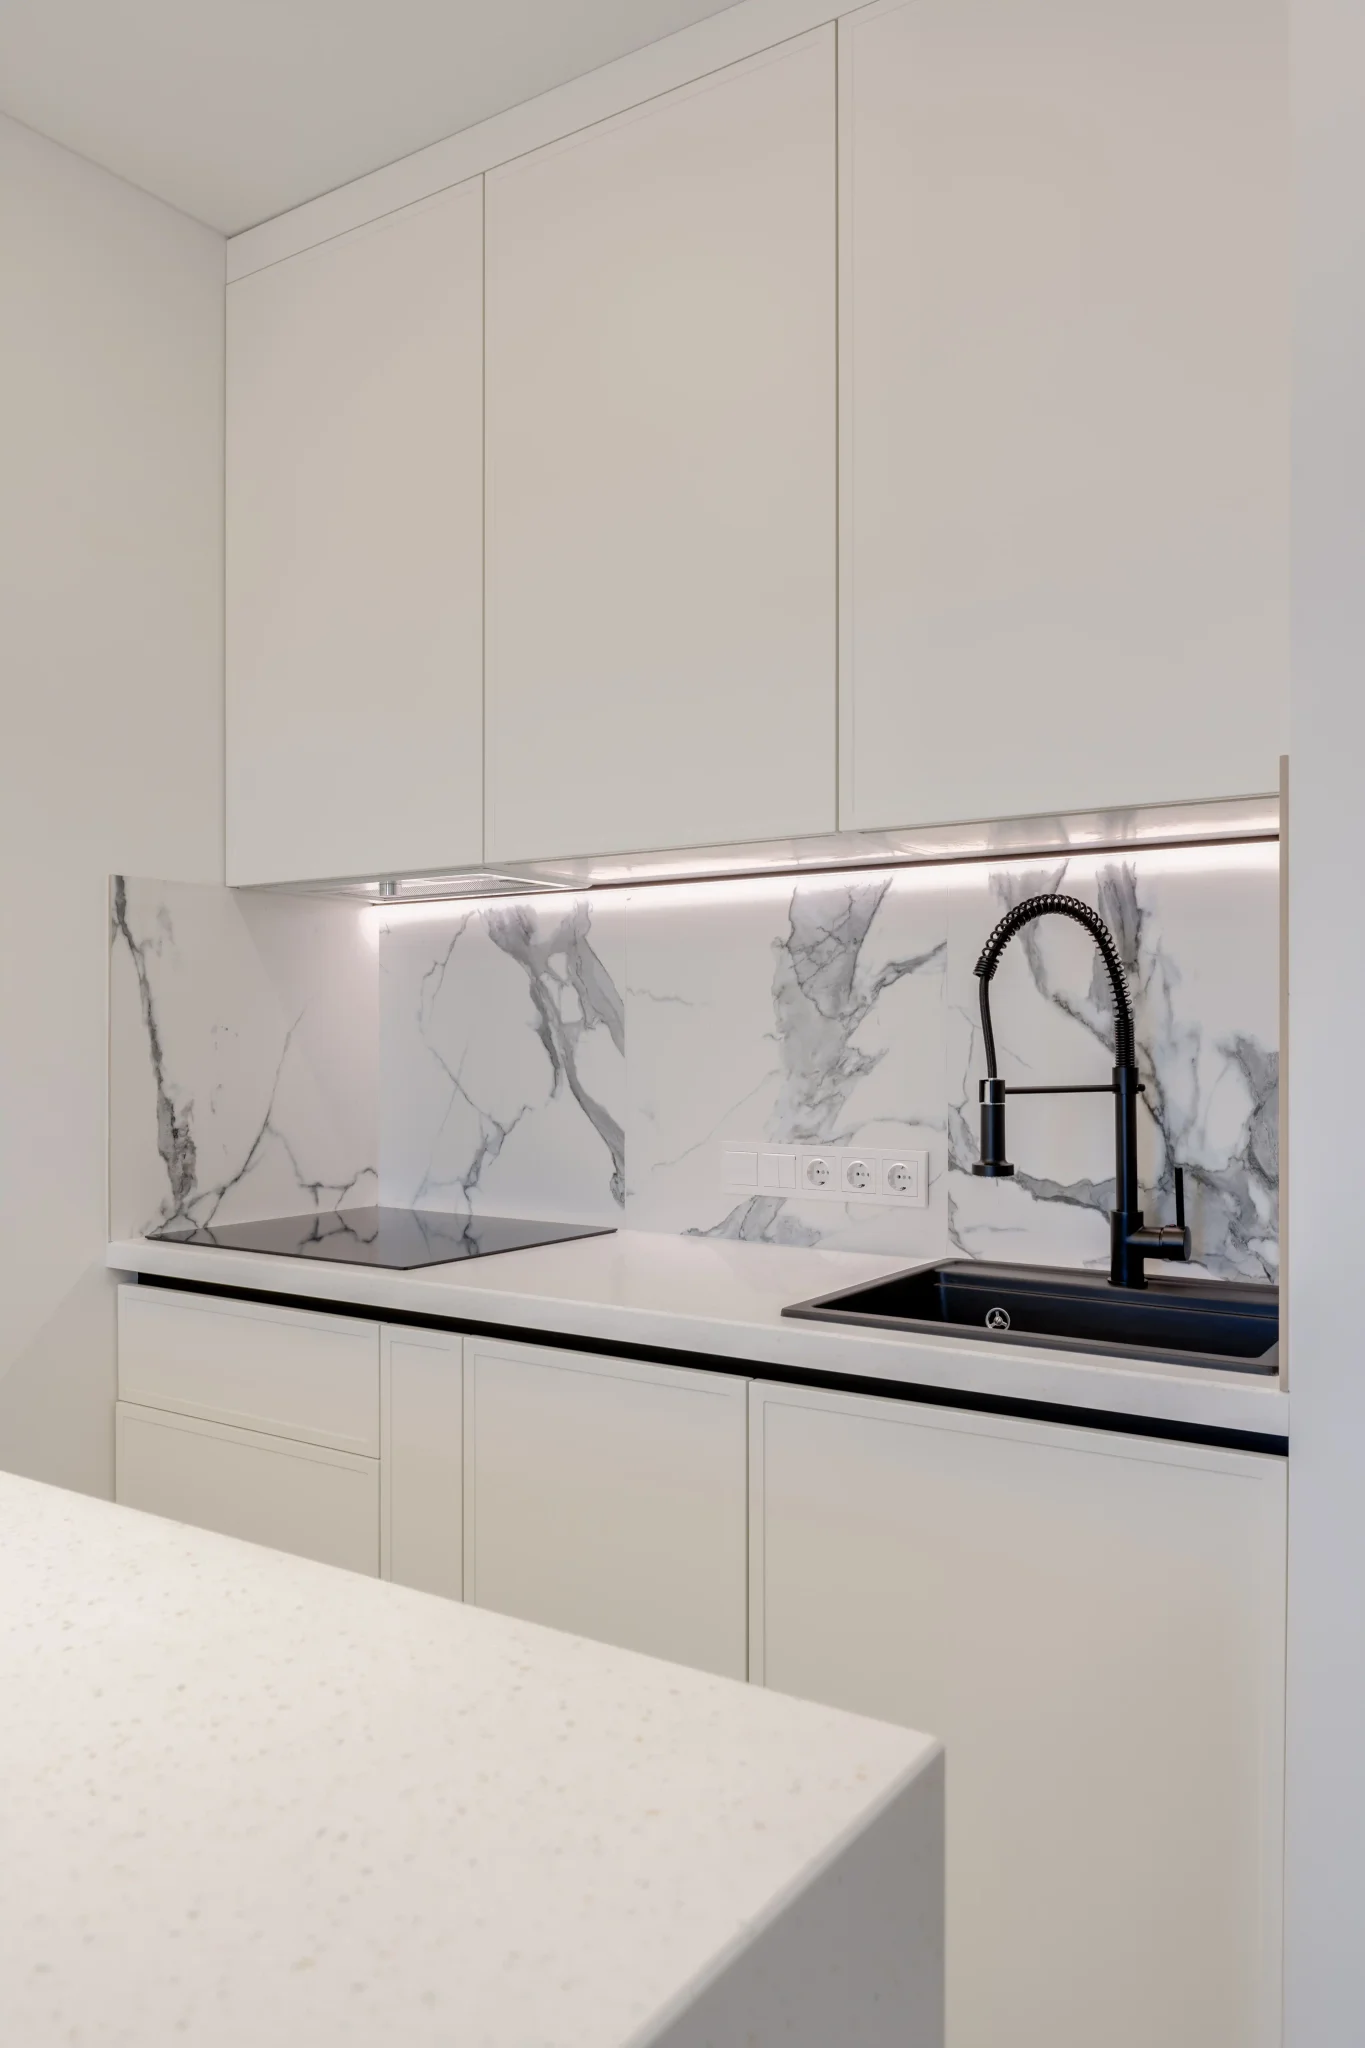
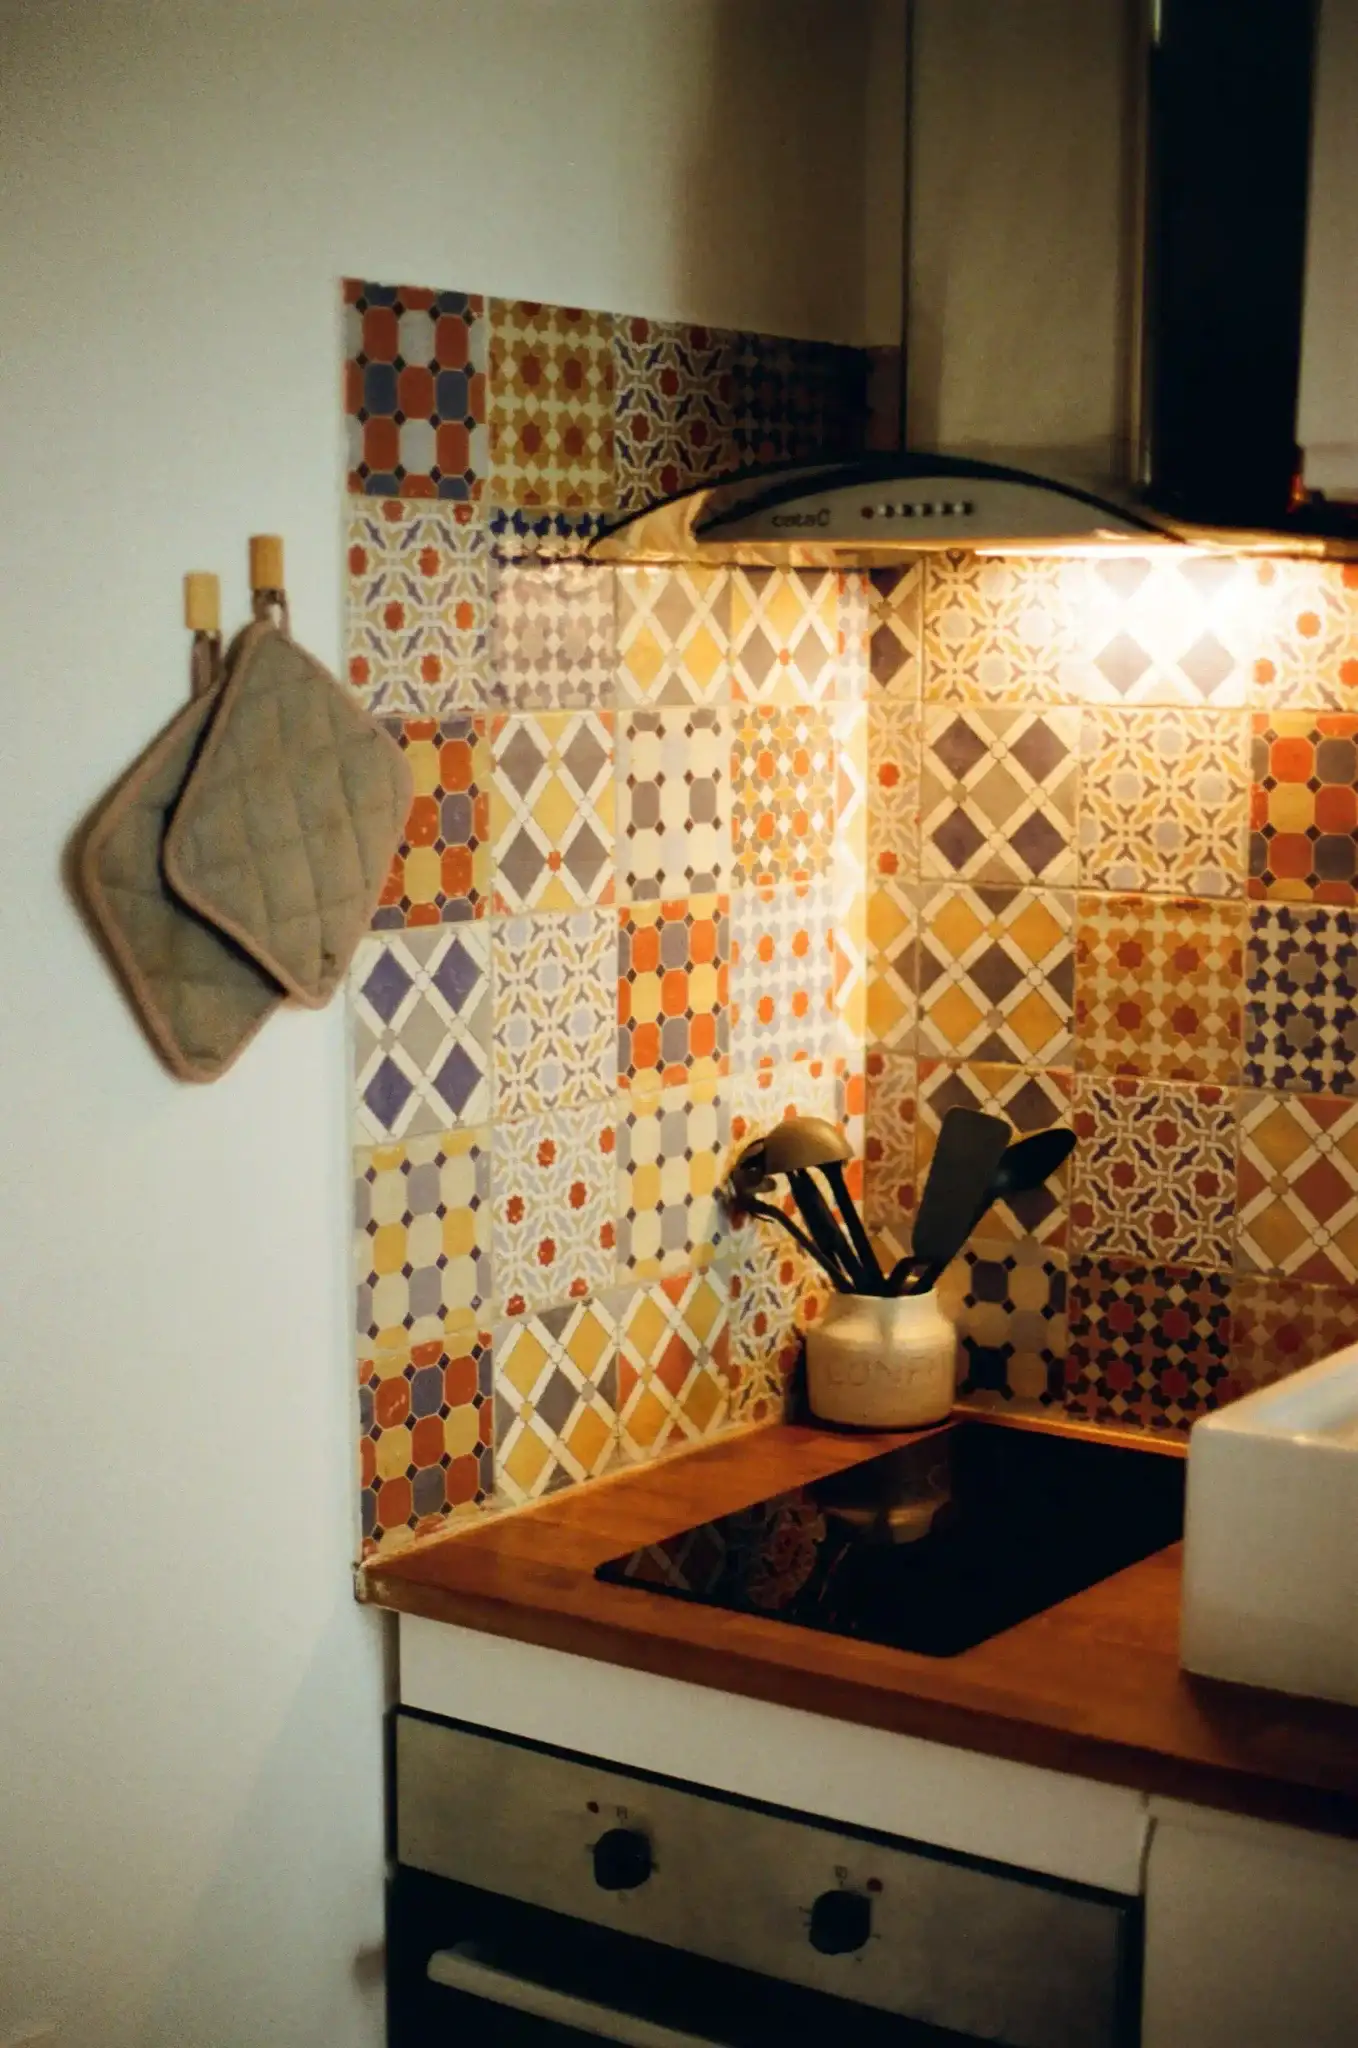
Standard subway tile in running bond or stacked. Zellige and handmade tile, which have irregular surfaces that require a different installation approach (more mortar, more adjustment per tile). Large-format marble or porcelain slabs that run from counter to cabinet as a single visual plane. Mosaic sheets in glass, stone, or ceramic. Patterned cement tile. Herringbone and vertical stack orientations.
Each material has specific requirements. Zellige tiles are not uniform in thickness, so the mortar bed needs to be adjusted tile by tile to keep the face plane consistent. Glass mosaic should be set with white thinset so the color does not show through. Marble needs to be sealed before grouting to prevent the grout from staining the stone. We account for these differences on every project.
What Is Included
Surface prep and priming of the wall. Layout planning and first-course leveling. Tile cutting around outlets, corners, appliances, and cabinet edges. Setting and grouting. Caulk at the counter-to-tile joint (this is a movement joint and should never be grouted). Cleanup. We do not reinstall outlet covers, but we leave them ready for you to put back.


A Few Styles We Work With

Available in These Areas
Backsplash project ready to go?
Call (970) 410-2033 or reach out online. We will get back to you within one business day.